
London Fog Sheet Cake & PRIDE AND PREJUDICE

The excitement people feel for Pumpkin Spice Lattes is how I feel about London Fogs. When the temperature drops, London Fogs become my drink of choice. A strong Earl Grey tea mixed with steamed milk and vanilla, London Fogs give me the boost of caffeine I need with the slightest hint of sweetness.
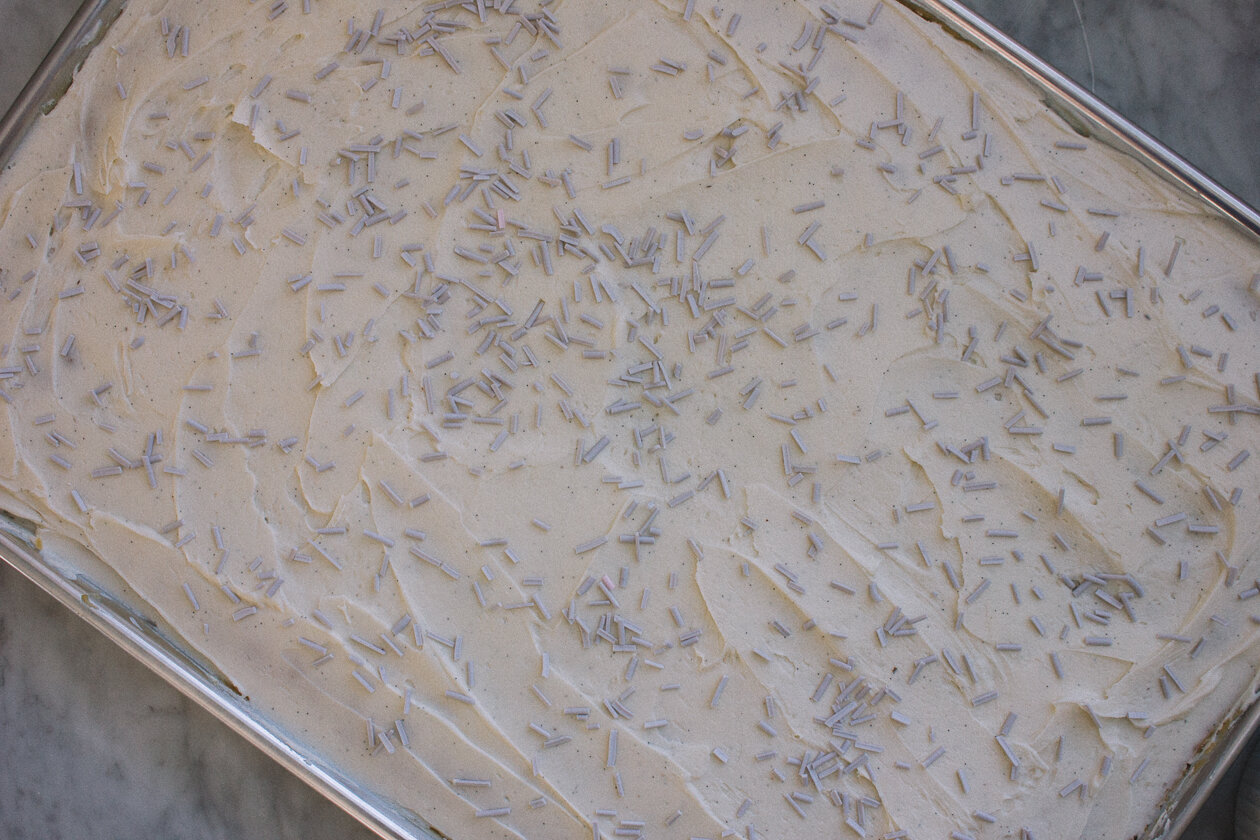
I have gotten into such a baking mood lately, so I wanted to figure out how to make this perfect fall drink into a dessert. What resulted was an Earl Grey sheet cake with a vanilla bean buttercream and topped with light grey homemade sprinkles.
I have never made a sheet cake before, but after this I am hooked. Really, they’re just super low maintenance to make. When you’re in a time crunch for a great cake without all the frills and decorations, sheet cakes should be your go-to.
All of the flavors work so well together, and it really tastes like you’re eating a London Fog. The cake is dense without being dry, so it is the perfect cake to eat with a cup of hot tea.


London Fog Sheet Cake
Serves: 30-32 slices | Cooking time: 1 - 1.5 hours
Ingredients
1 cup + 1 tablespoon whole milk
1 vanilla bean, split
4 bags of Earl Grey tea
1 cup butter, softened
1 ½ cups granulated sugar
4 eggs
3 cups all-purpose flour
2 ½ teaspoons baking powder
½ teaspoon salt
Method
Warm the milk in a small saucepan over low-medium heat. Split the vanilla beans and scrape the seeds into the milk and whisk. Add the pod to the milk, too.
Bring the milk to a simmer, then remove the milk from heat and add the tea bags. Cover the saucepan and let the tea steep for 15-20 minutes.
Remove the tea bags from the milk and squeeze out the excess liquid back into the milk.
Remove the vanilla pod. Pour the milk into a measuring cup to make sure you still have 1 cup of milk (I added in the extra tablespoon to account for evaporation, but just double check before proceeding). If you have less than one cup of milk, add in however much you need to make it 1 cup.
Let the milk cool down to room temperature.
Heat the oven to 350°F and prepare your sheet tray by greasing it with a light layer of butter. I used a non-stick sheet tray so I left it as is and didn't have an issues.
In the bowl of a stand mixer, mix the butter and sugar together until creamy, about 5 minutes. Add in the eggs, one by one, and mix after each addition until all eggs are fully incorporated.
While the sugar and butter are mixing, whisk together the flour, baking powder, and salt in a large bowl.
Pour the flour mixture into the butter and sugar mixture in three additions, alternating with the tea milk. End with the flour, and mix until the last bit of flour has been incorporated. Don't overwork the flour by mixing for too long.
Pour the batter into the sheet tray and spread out evenly using an offset spatula. Bake for 25-30 minutes.
Allow the cake to cool completely before spreading the frosting over the top.
Once the cake has cooled, use an offset spatula to evenly spread the vanilla bean buttercream over the top and add the final touch of homemade sprinkles.
Vanilla Bean Buttercream
Ingredients
1 vanilla bean, split
1 teaspoon vanilla extract
3 1/3 cup powdered sugar
2 tablespoons heavy cream
3/4 cup butter, softened/room temperature
Method
Mix all of the ingredients together until smooth.
Sprinkles
Tools
Wax paperPastry bags
Piping tip with a very small hole (I used Wilton #12) (If you can, get a few tips so if you make different colors, you don't have to rely on just the one tip.)
Toothpicks
Ingredients
4½ cups powdered sugar
3 tablespoons + 1 teaspoon meringue powder
6 tablespoons water (+ more if you need)1 teaspoon almond extract
Method
Sift the powdered sugar into the bowl of a stand mixer. Add the meringue powder, water, and almond extract.
Mix everything together on low speed until you have a creamy and smooth mixture.
Because I wanted a variety of colors, I poured my sprinkle mix into a few different bowls and then added in food coloring gel until I achieved the color I wanted (for light grey, a tiny drop of black is plenty. I love gel food coloring because the colors are strong and mix beautifully).
Cut the point of your pastry bags and place the piping tip through the bottom. To make it easy to add your sprinkle mixture, fold over the top of the bag and place it in a cup.
Pour the sprinkle mixture into the bag and squeeze until it fills the bottom of the bag.
On a wax-paper lined sheet tray, pipe the sprinkle mixture into long as-straight-as-you-can strips. Repeat until the pastry bag is empty and all the sprinkle mixture is used up.
Allow the sprinkles to dry for at least 24 hours.
Once the sprinkles are dry, you can break them apart. I tried cutting them with a knife, but found that it made the edges uneven. Instead, I broke them apart with my fingers. This gave me control over what size I wanted them to be. For ones that were slightly too long, I just snapped them in half.
Sprinkle generously over rolls, cakes, cupcakes...pretty much anything because they are beautiful and you should show them off!
© A Dash of Cinema